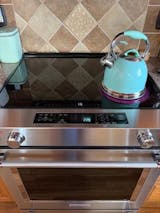
I am still unsure about the Buddy Burner; it cooks slower, and not seeing the original cooktop rings makes me uneasy. I knew these drawbacks before buying the product and am still adjusting.
Suggestion: Providing customers with a sticker they can put on the cooktop burner to show where to place pans or pots would be helpful.
Please check back in 30 days for more feedback, as I am still getting used to the Buddy Burner.
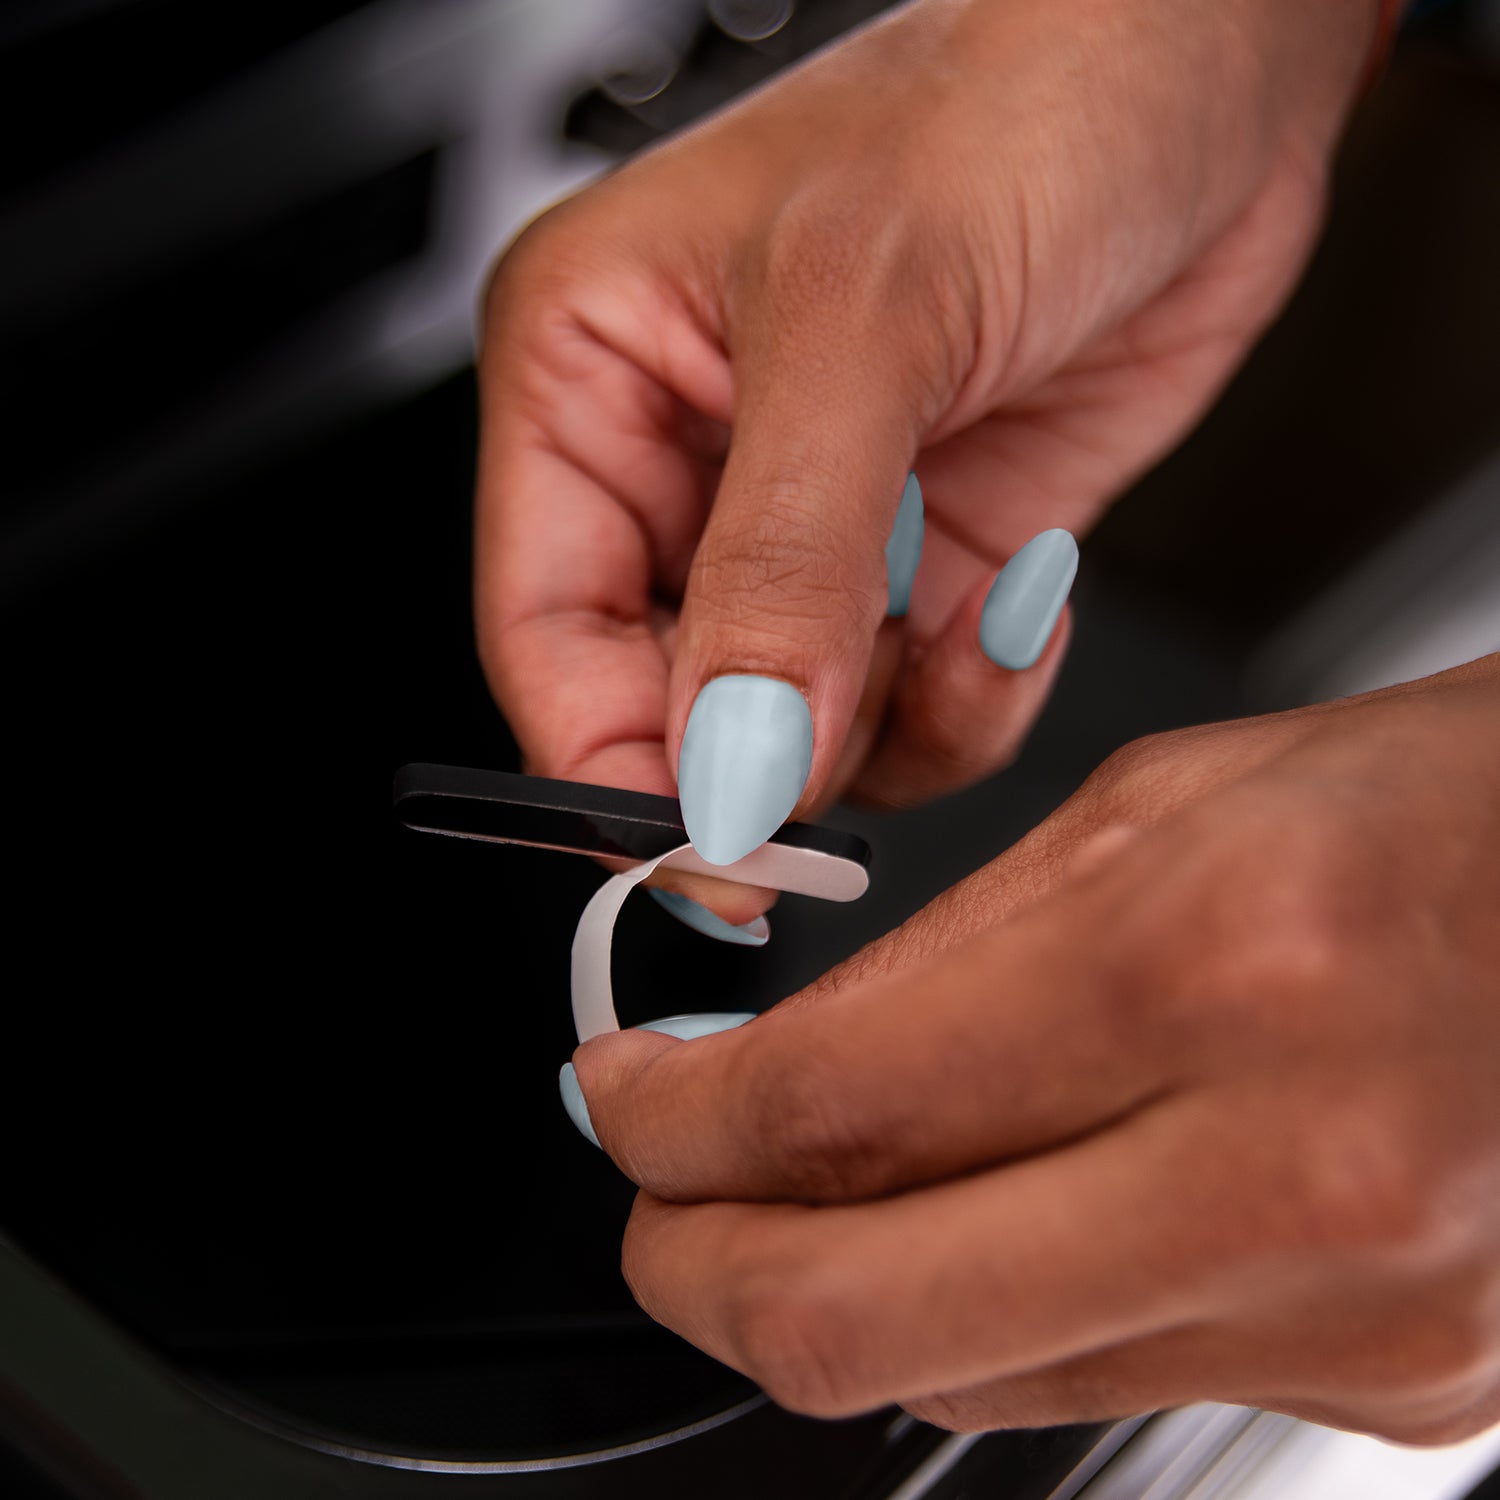
I did appreciate the assistance and patience provided with me in the installation.
As someone who has rented in multiple places over the past few years, one thing I always worry about is accidentally marking up the glass cooktop. No matter how careful you are or how clean you keep your pans, those little scuffs and marks from the bottoms of pots seem almost impossible to avoid.
We just moved into a new place, and after only a few uses of the stove, we noticed marks starting to appear from the pans that came with the rental. I tried everything to clean them off and nothing really helped. That’s when we started looking for a solution and found the Burner Buddy.
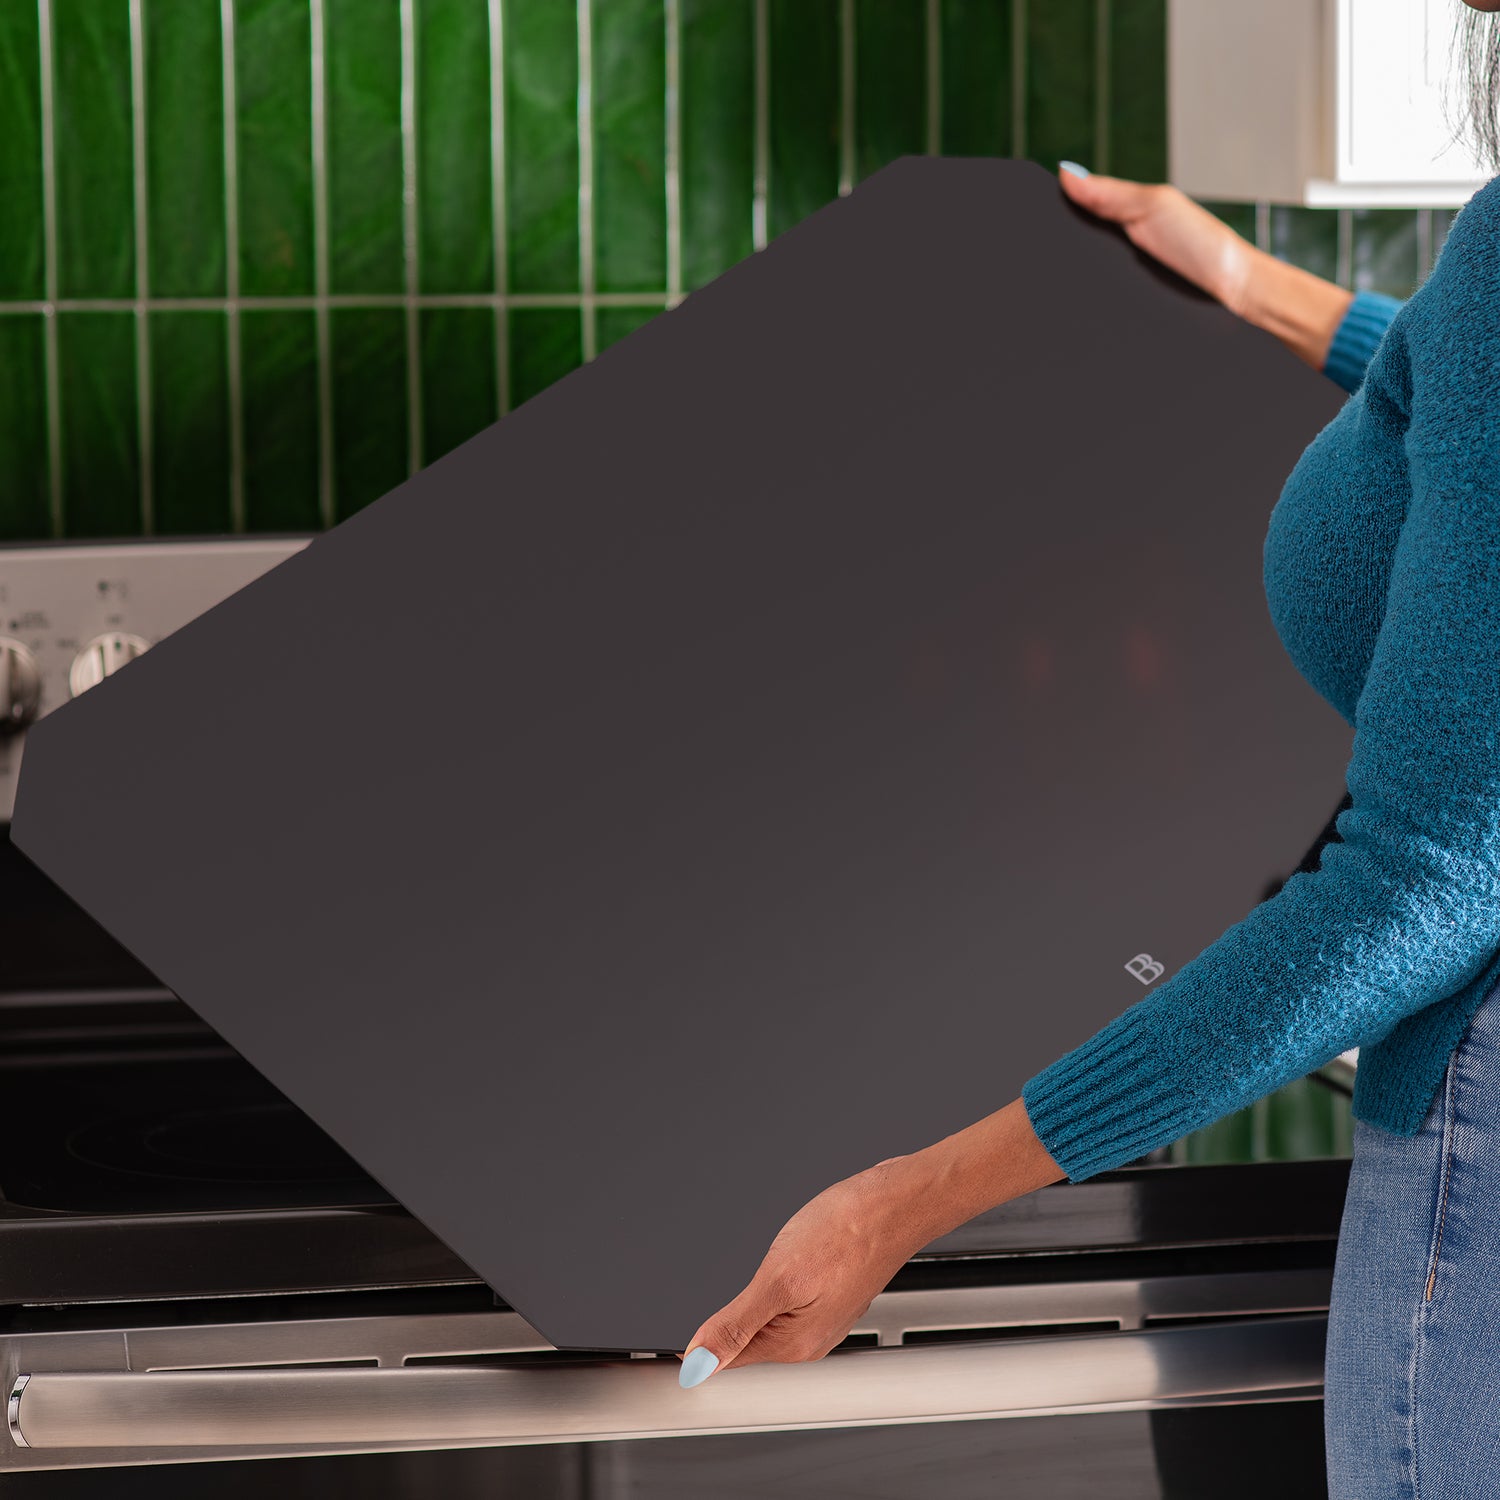
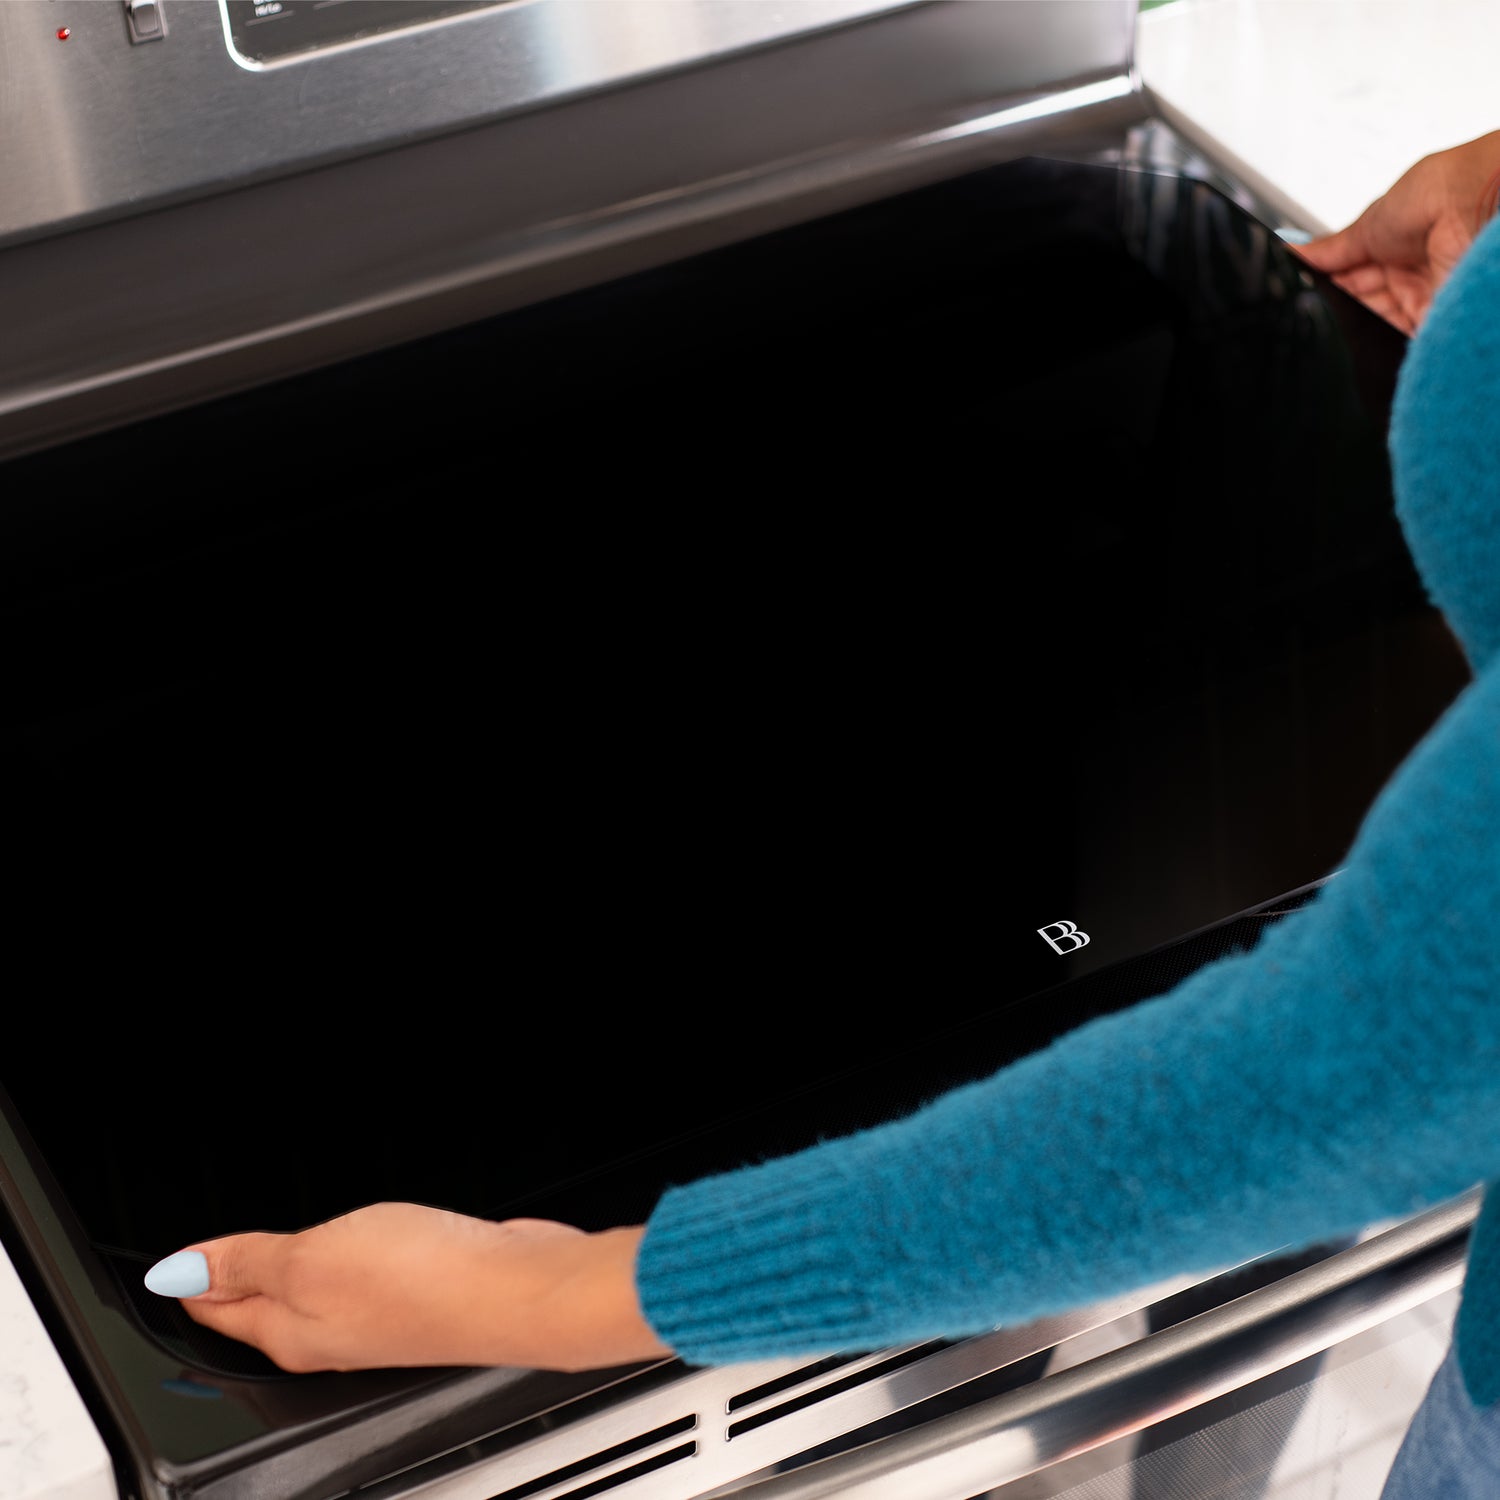
So far, it’s been exactly what we were hoping for. It’s essentially a protective glass layer that sits over the stove, and it gives us peace of mind knowing we’re protecting the owner’s cooktop underneath. It’s easy to clean (just follow the instructions from their website), and it saves us from constantly stressing about every little pan movement.
One of the best parts is that it’s portable. We can take it with us from rental to rental until we eventually buy our own home. Honestly, we may even continue using it on our own stove until we upgrade to gas — because keeping glass cooktops spotless feels nearly impossible.
We haven’t used it long enough to give a full, long-term review, but so far we have nothing but good things to say. If you’re a renter and worried about protecting your stove, this has been a great solution for us.
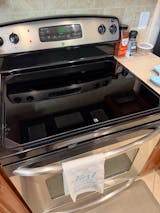
We got our BB over a year ago and still love it. Protects my Kitchen Aid stove and looks great!!!!
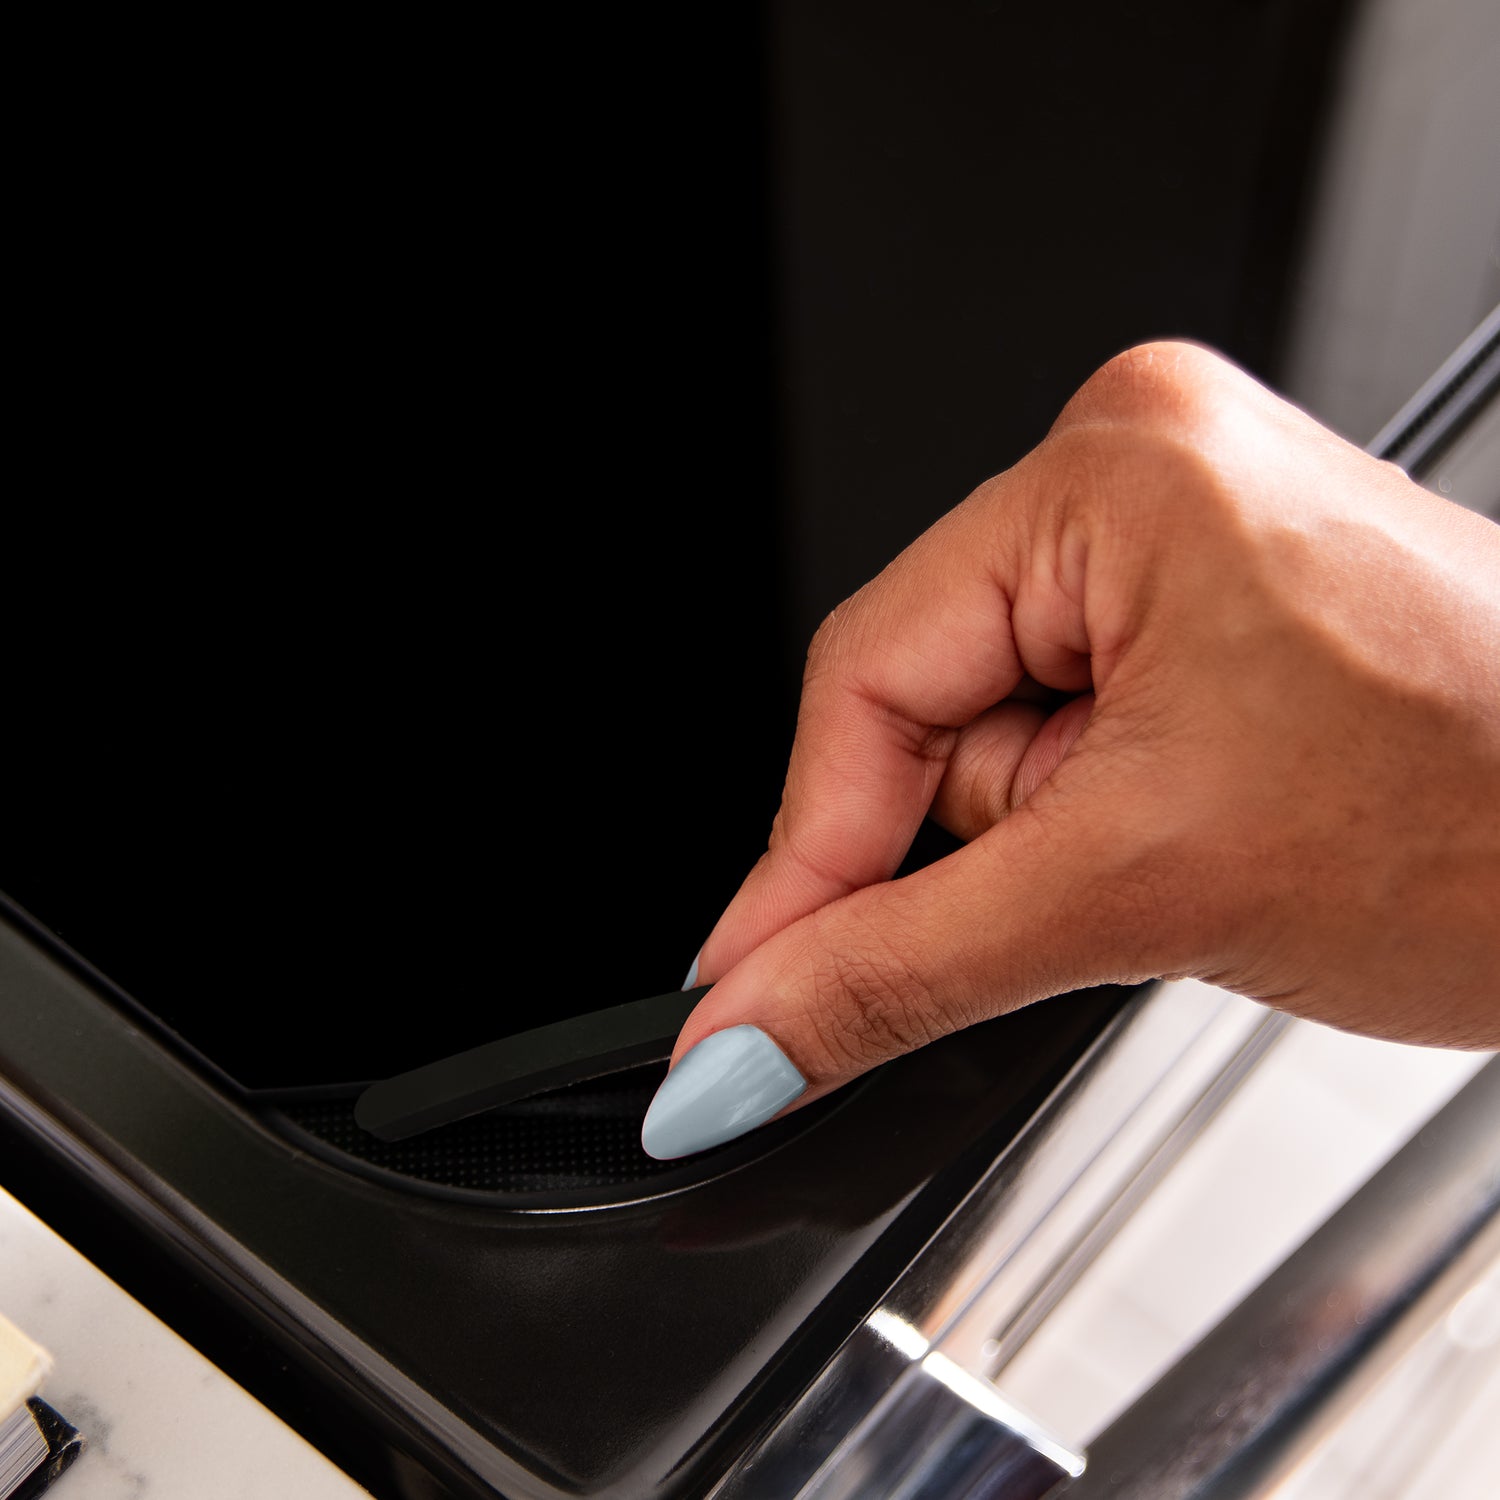
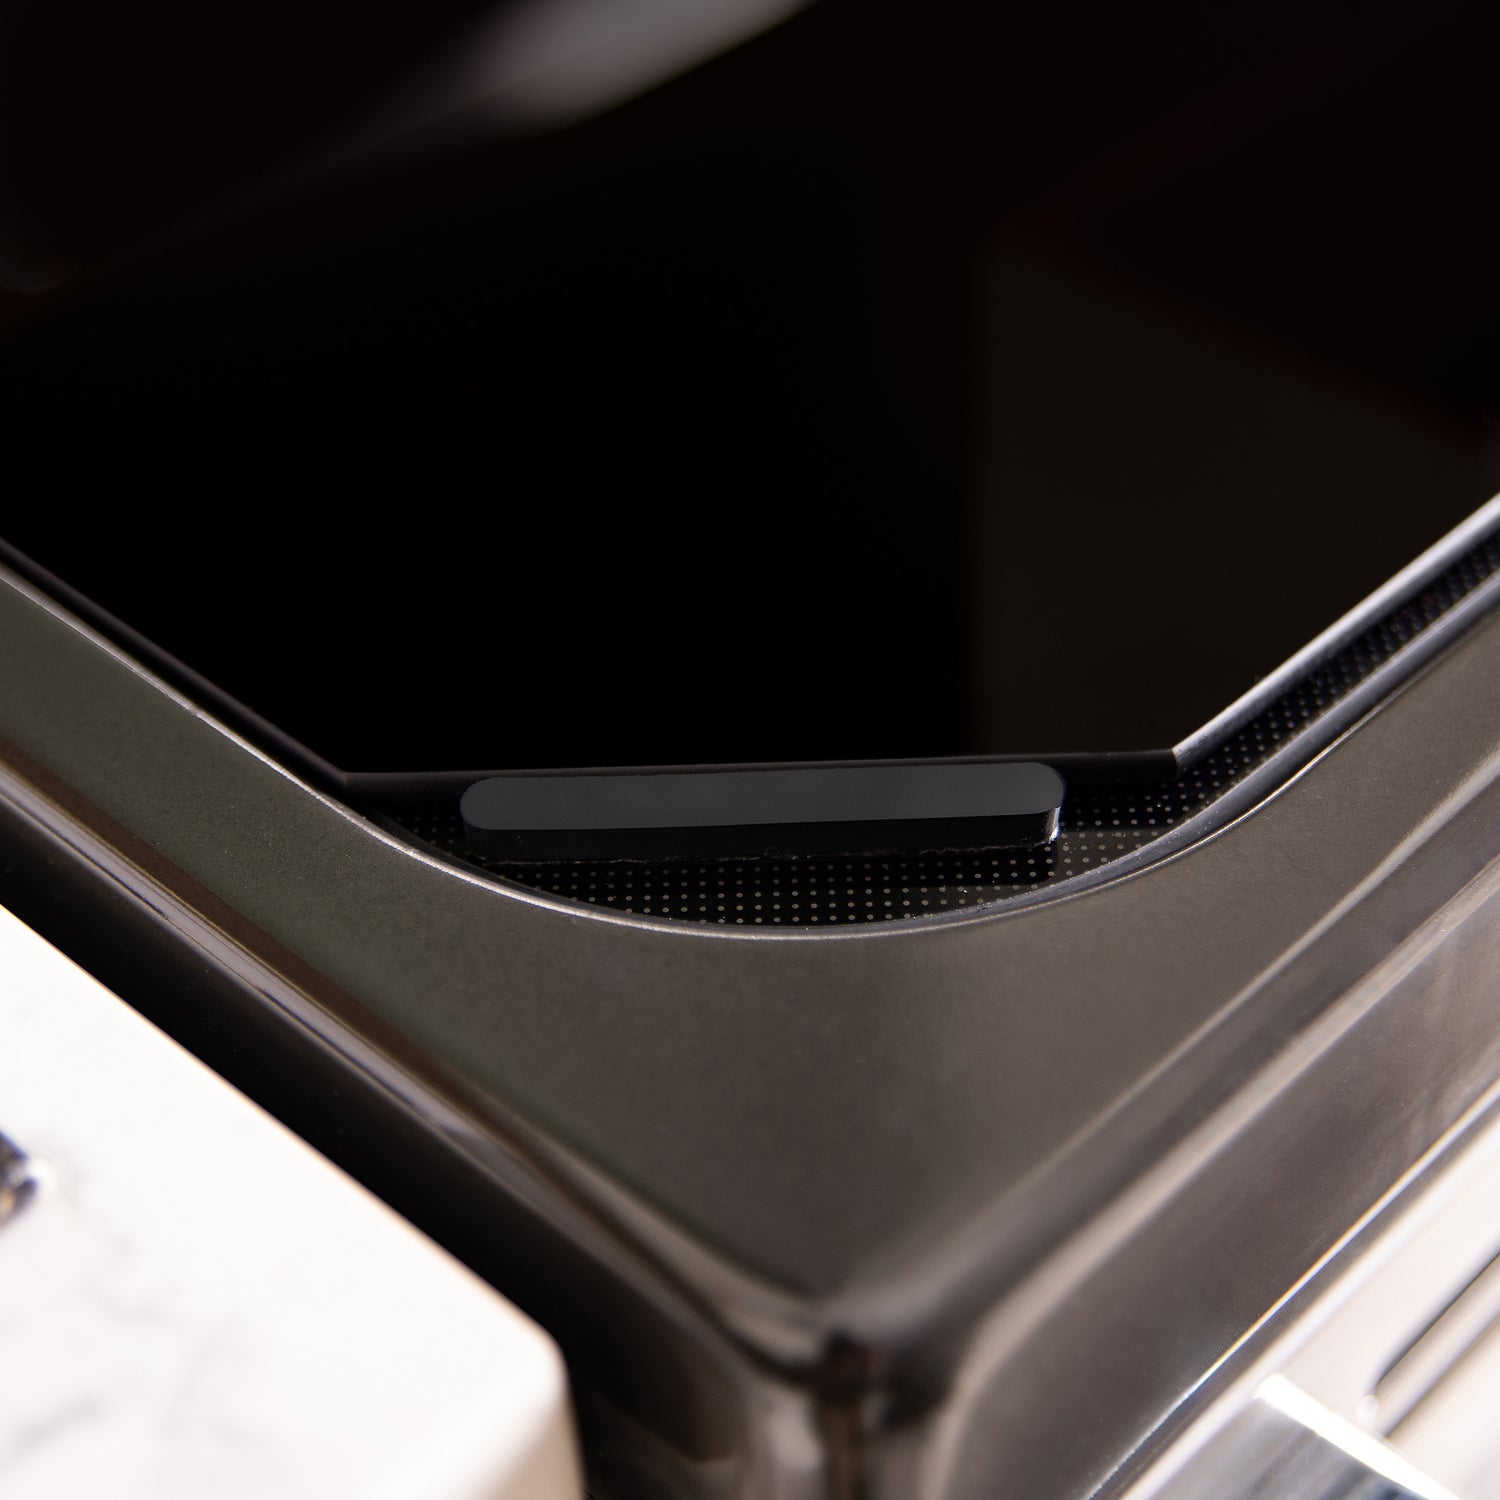
Got some extra bumpers for the next spring cleaning my hubby will do so they are in good and clean order!
I can't tell you how much I appreciate your help with the replacement of the Corner Bumpers. That is excellent customer service!! I love the Burner Buddy and don't know how I ever did without it.
With much gratitude,
Audrey Marty
They had to custom make my top. That being said it fit like a glove.

